Sunday Forward — Classic Italian · Week 5
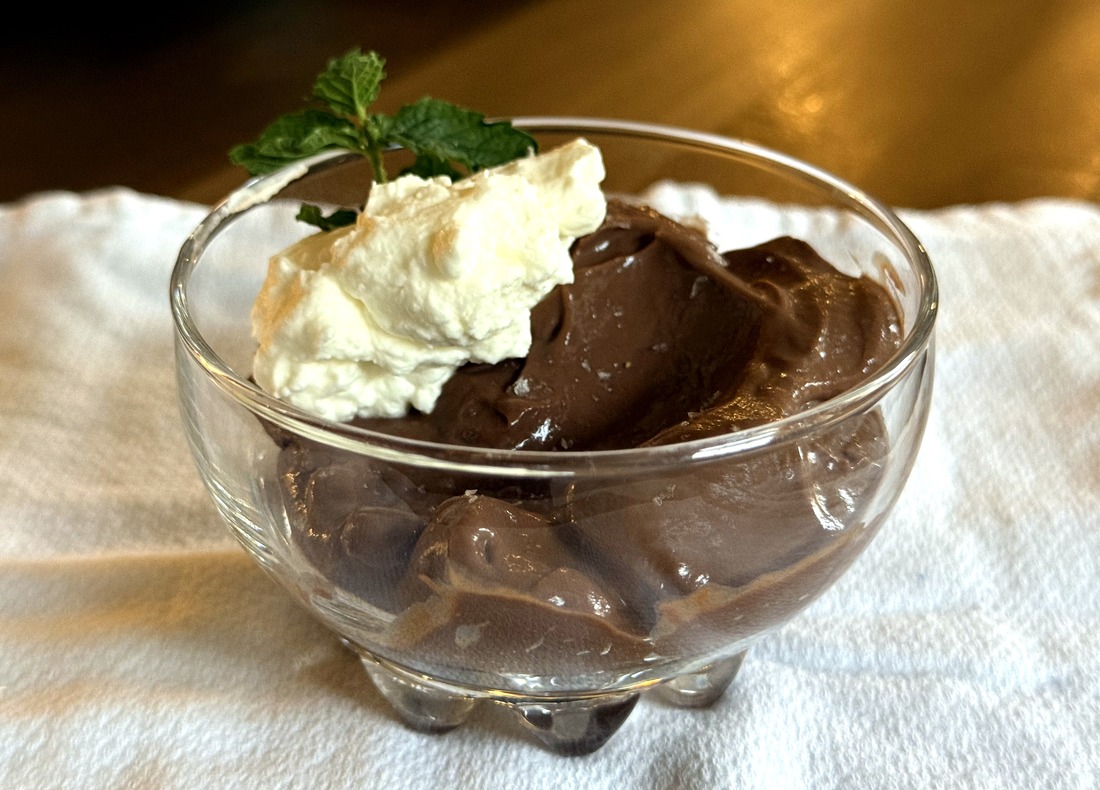
Stovetop Chocolate Pudding
Cocoa · bittersweet chocolate · whole milk · butter · vanilla · 15 minutes
Dessert
Make Ahead
Kid-Friendly
Gluten-Free
4
Servings
15 min
Active
2+ hr
Chill
Double
Chocolate
Dry
Unsweetened Cocoa Powder
Whisked dry with the other powders first to eliminate lumps before any liquid is added
⅓ cup
Star
Bittersweet or Semisweet Chocolate
Stirred in off the heat after thickening — gives the pudding its glossy finish and deep chocolate flavor. Chop into small pieces so it melts quickly and evenly.
3 oz
Dry
Sugar
Whisked in with the dry ingredients
½ cup
Thickener
Cornstarch
The thickener. Must cook for a full minute at a gentle boil to lose its raw, chalky taste — don’t pull it early.
3 Tbsp
Base
Whole Milk
Or substitute up to 1¼ cups with heavy cream for a richer, denser pudding. Whole milk alone gives a lighter, silkier result.
2½ cups
Finish
Butter
Stirred in off the heat along with the chocolate — adds richness and a glossy sheen
2 Tbsp
Finish
Vanilla Extract
Added off the heat so the alcohol doesn’t cook off and the flavor stays bright
1 tsp
Season
Salt
A pinch in the dry mix — it sharpens and deepens the chocolate flavor
pinch
Method
0 of 5 steps complete — click a step to check it off
1Dry
Whisk the Dry Ingredients
In a heavy saucepan, whisk together the sugar, cocoa powder, cornstarch, and a pinch of salt. Break up any lumps thoroughly — lumps of cornstarch or cocoa now will survive into the finished pudding.
✓
2Milk
Whisk in the Milk
Add the milk gradually while whisking, stirring until the mixture is completely smooth with no streaks or lumps. Starting with the dry mix before adding liquid is what keeps it lump-free.
✓
3Cook
Cook Until Thick and Boiling
Place over medium heat and whisk constantly. Make sure to reach the edges of the pan with every stroke — that’s where scorching starts. After 6–8 minutes the pudding will thicken noticeably and come to a gentle boil. Let it boil gently for 1 full minute to cook out the cornstarch.
✓
4Finish
Stir in Chocolate, Butter, and Vanilla
Remove from heat. Add the chopped chocolate and stir until fully melted and smooth. Add the vanilla extract and butter, stirring until the butter is completely incorporated and the pudding is glossy.
✓
5Chill
Pour, Cover, and Refrigerate
Pour into a bowl or individual ramekins. Press a sheet of plastic wrap directly onto the surface of the pudding (to prevent a skin from forming — unless you’re into that). Cool to room temperature, then refrigerate for at least 2 hours. The pudding will seem loose right after cooking; it thickens significantly as it chills.
✓
Clear the Edges While You Whisk
The pudding scorches fastest where the pan curves up to the sides. Reach all the way to the edges with every stroke — a silicone spatula-whisk combo is ideal if you have one. A scorched pudding cannot be saved.
It Looks Loose — That’s Normal
Right after the boil the pudding will seem thinner than you expected. It continues to thicken as it cools and sets in the fridge. Trust the process and give it the full 2 hours before serving.
Serve With Homemade Whipped Cream
This pudding deserves real whipped cream — heavy cream, a little sugar, a splash of vanilla, whipped to soft peaks. Takes 3 minutes. Check the Macerated Strawberries & Whipped Cream card for the method.